Best aim and controller settings for GTA 6
The best GTA 6 aim settings for casual and hardcore play: Lock-On vs Partial vs Free Aim, every assist explained, the classic dot reticle and stick settings.
Reported. Established outlets report this. Rockstar hasn't said so.
For easier gunfights, set Targeting to Lock-On with Aim Assist Strength at 3 and Lock-On Time at 5, and leave every assist on. For a real challenge, switch to Free Aim, drop Aim Assist Strength to 0 and turn off both Shooting Assist and Drive-By Assist. All of these are under Settings > Gameplay > Combat, and the crosshair options are at the bottom of the UI tab.
Where to find the aim settings
- Pause the game.
- Open Settings.
- Go to the Gameplay tab.
- The first group of options, under Combat, covers aiming and gunplay.
Lock-On vs Partial vs Free Aim
Aim assist isn't forced on you. The Targeting option has three modes:
| Mode | What it does |
|---|---|
| Lock-On | Snaps straight onto a valid target near your reticle the moment you aim (hold L2 / LT). The friendliest option for beginners. |
| Partial | No snapping, but the reticle slows down automatically as you move it across a target, so you're less likely to overshoot. |
| Free Aim | Aim assist off: no slowdown, no snapping. Shooting Assist still gives you a quick lock-on to enemies close by unless you switch that off too. |
Free Aim on its own still leaves one helper running. For a completely unassisted game, switch off Shooting Assist as well.
Every aim option explained
- Aim Assist Strength: how strongly the game helps. In Lock-On mode it barely matters, because your aim is already stuck to the target and follows it.
- Lock-On Time: the setting that does the real work in Lock-On mode. It decides how much help you get against moving targets. Maxed out, it keeps your aim glued to even fast-moving enemies.
- Lock-On Target Switch: once you're locked on, flick the right stick left or right to move the lock to the next valid target in that direction. It only works when several targets are near the reticle, which makes it handy in crowded fights.
- Shooting Assist: a quick lock-on for enemies at close range. It stays active even in Free Aim.
- Drive-By Assist: lock-on for driving. Your character auto-aims at the closest target while you're behind the wheel.
- Quick Draw: hold aim (L2 / LT) and press fire (R2 / RT) to pull out your last-equipped weapon. Turn it off and you'll have to pick every weapon from the weapon wheel.
Best casual and hardcore aim settings
Game Rant suggests two setups: a relaxed one that still asks for some aiming skill, and a demanding one for players who find the defaults too easy. Side by side:
| Option | Casual | Hardcore |
|---|---|---|
| Targeting mode | Lock-On | Free Aim |
| Quick Draw | Keep on | Keep on |
| Shooting Assist | Keep on | Switch off |
| Drive-By Assist | Keep on | Switch off |
| Aim Assist Strength | 3 | 0 |
| Lock-On Time | 5 (raise to max if needed) | Not part of this setup |
| Lock-On Target Switch | Keep on | Not part of this setup |
A few notes on the casual column:
- Lock-On Time at 5 is a middle ground. If you keep missing people who are running or cars pulling away, push it to the maximum.
- Even with every assist enabled, you still need basic aim to win fights.
And on the hardcore column:
- Quick Draw stays on in both setups because it doesn't make aiming easier. It only saves you a trip to the weapon wheel.
- For an even harder game, set the reticle to None (see below) so there's no aim marker on screen at all.
How to change the reticle
By default, GTA 6 replaces the series' familiar dot with a new three-dash crosshair. The classic dot is still available.
- Pause the game and open Settings.
- Go to the UI tab.
- Scroll all the way down to the Reticle section.
- Change Reticle Shape.
The four shapes:
- Complex: the default three-dash reticle.
- Simple: a single dot with a circle around it. Works well for both precise guns and shotguns.
- Dot: the old-school GTA single dot and nothing else.
- None: no reticle at all, for hardcore or realistic play.
The same section also has:
- Reticle size: two size options.
- Hit Markers: on or off. These are the four X-shaped dashes that flash when a bullet lands. Hardcore players can turn them off.
- Persistent Center Dot: keeps a dot in the middle of the screen at all times, whether or not you're holding a weapon.
- Reticle transparency: set separately for when you're aiming and for when your weapon is out but you aren't aiming.
- Projectile arc: for grenades and other throwables. Turn it off completely, or set it to toggle mode and show or hide the arc in-game with R3 / R.
Thumbstick sensitivity, deadzone and response curve
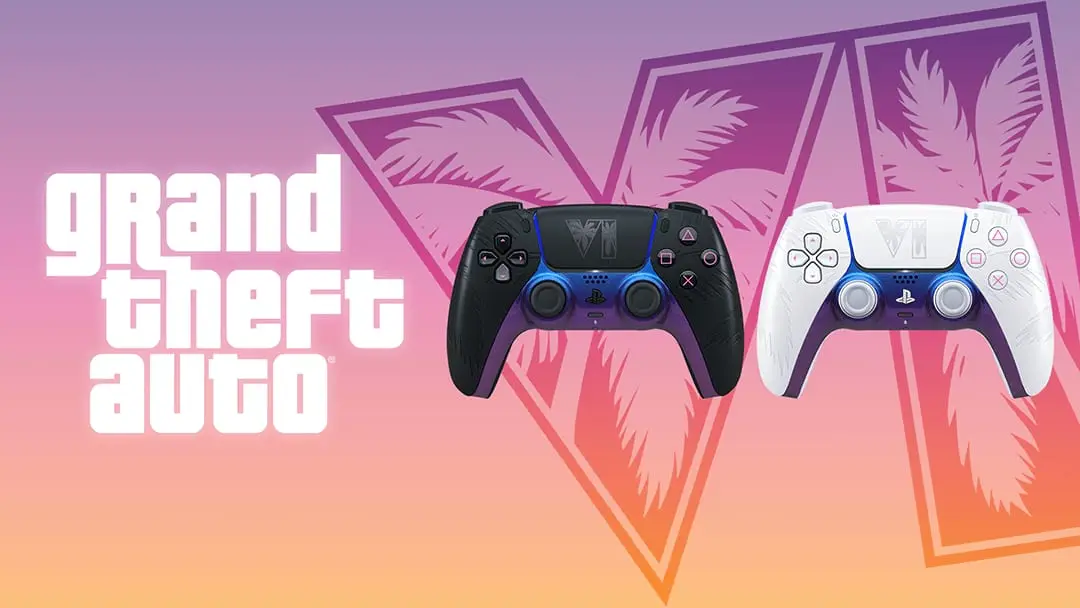 PlayStation
The stick settings matter as much for aiming as the assists do. Here are the defaults and Rockstar Intel's suggested starting points:
| Setting | Default | Suggested starting point |
|---|---|---|
| Thumbstick sensitivity | 7 | Raise by 1 or 2 if the camera feels sluggish |
| Deadzone | 4 | 2 on a new controller; higher on a well-worn pad |
| Aim Response Curve | 4 options | Try all four |
All three come down to personal preference, so test a few values in a gunfight rather than in the menu. The names of the four response curves haven't been listed yet. If one matches a curve you use in other shooters, start there. It also isn't known yet which settings tab holds these stick options.
Motion blur and the 30fps feel
GTA 6 runs at 30fps, and Rockstar Intel finds the input latency high. Its tip is to turn motion blur up, which makes camera movement feel smoother:
- Open Settings and go to the Display tab.
- Scroll down to Motion Blur Strength (default 3).
- Try 5 or higher, then adjust to taste.
Xbox players get a small extra benefit from VRR. For more on performance modes, see our GTA 6 frame rate guide.
Other assists in the Gameplay tab
The Gameplay tab also has accessibility options that go beyond aiming, including simplified mini-games and reduced vehicle damage. It's a single-player game, so use them as much as you like. Before bigger fights, our weapons guide explains the 4-gun limit, and our cheats list covers every code.
Sources: Game Rant, Rockstar Intel, Insider Gaming
Written by AI from the sources listed here, then checked automatically for copied wording and for claims stronger than the sources. How we work