Best GTA 6 settings for PS5 and Xbox Series X|S
The GTA 6 settings to change on PS5 and Xbox Series X|S: movement speed, motion blur, sensitivity, dead zones, aim assist, camera, subtitles and more.
Confirmed. Rockstar Games or Take-Two said this on the record.
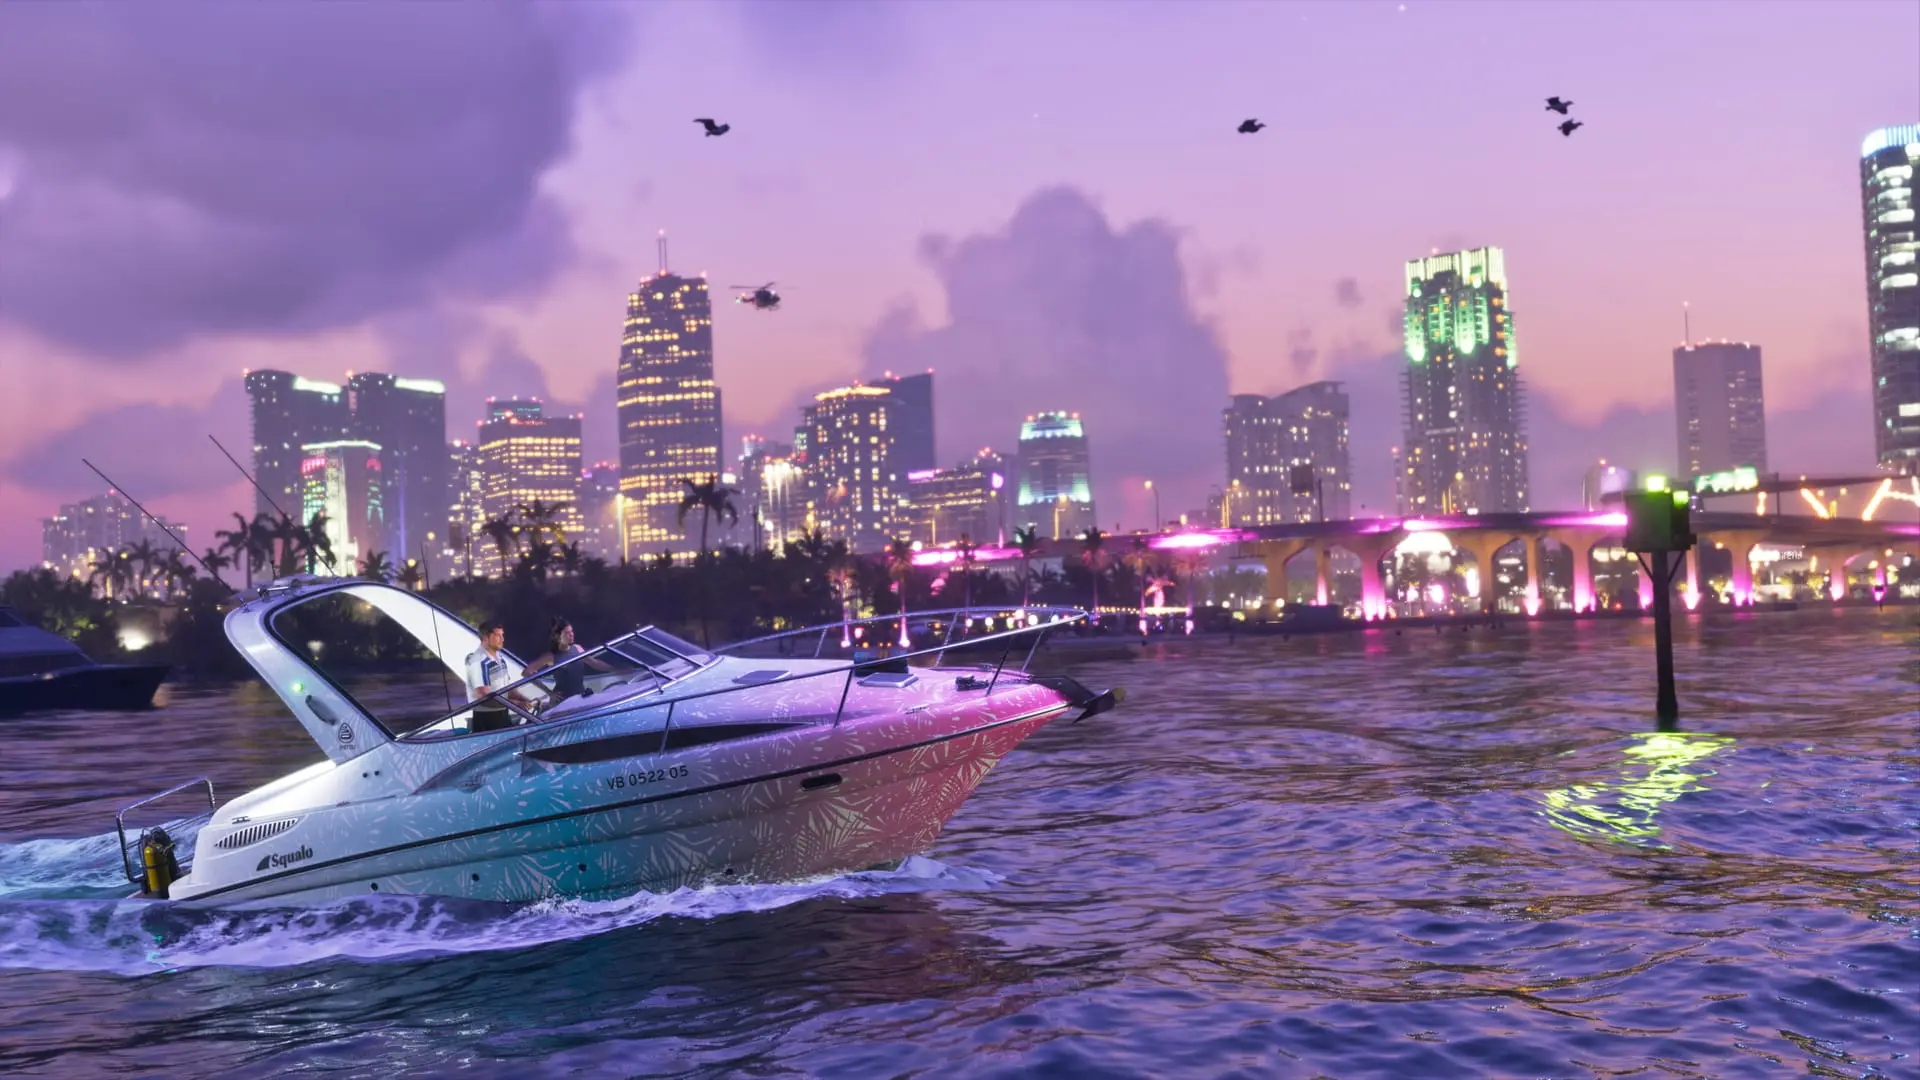
The changes that matter most in GTA 6 on PS5 and Xbox Series X|S: set Movement Speed (Gameplay tab) to Fast Walk or Jog so Jason and Lucia stop dawdling, set subtitles to the fullest level, and tune Motion Blur Strength (Display tab) to taste. Below is every other setting worth touching, with suggested values. Treat the numbers as a starting point: they are other players' preferences, not rules.
How to open the settings menu
- Pause the game.
- Select Settings.
- Press R1 (PS5) or RB (Xbox) to move between tabs such as Display, Gameplay and Audio.
Movement Speed: make Jason and Lucia walk faster
By default, pushing the stick forward gives a slow walk. Clicking the left stick in breaks into a jog that uses no stamina, and clicking again (or holding it) gives a full run that burns stamina and counts as cardio. Switching between those by clicking the stick gets clumsy, so change the base pace instead.
- Open Settings and go to the Gameplay tab.
- Scroll down to the Movement section.
- Set Movement Speed to Walk (default), Fast Walk, Jog or Run.
This sets the speed you reach with the stick fully pushed. Run is your top speed before stamina starts draining, not a sprint. You can still move slower by tilting the stick only slightly. Fast Walk is a gentle bump; Jog is the most common recommendation.
In the same section:
- Combat Movement Speed sets your pace in gunfights. It defaults to Fast Walk, with Jog and Run as faster choices. Fast Walk works well with the aim settings below.
- Stand & Sprint: when on, running out of a crouch snaps you upright instead of a faster crouched shuffle. Turn it on if stealth isn't your style.
Sprinting and the GTA 5 control scheme
GTA 6 sprints with L3 instead of tapping X as GTA 5 did. If that bothers you, the classic GTA 5 scheme can be restored in settings. You can also choose how sprinting starts:
- a slight stick movement starts it automatically
- hold L3
- one press of L3 to keep running
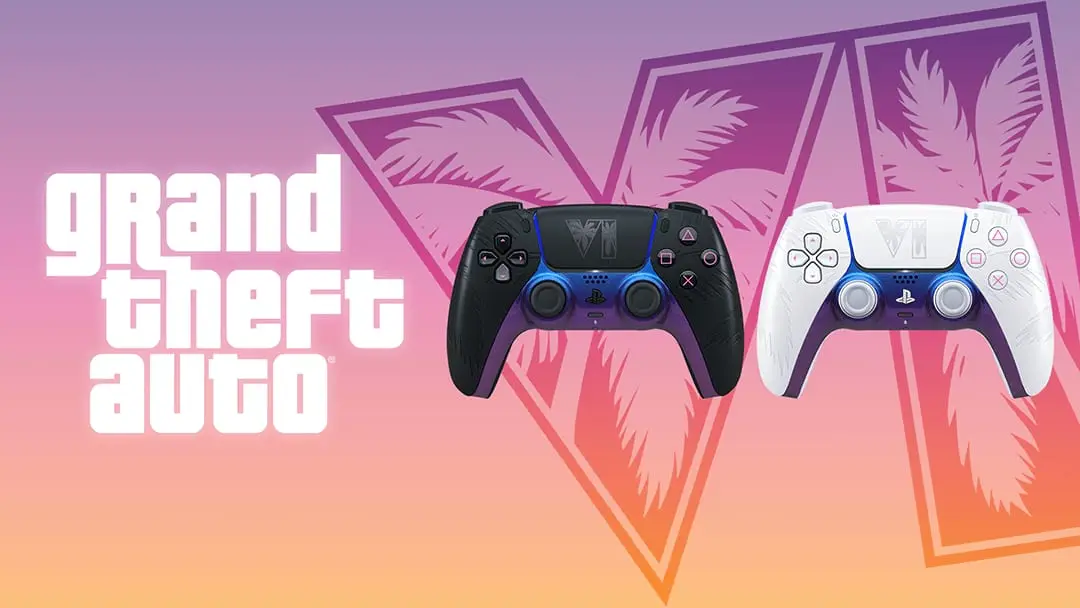 PlayStation
Stick sensitivity, dead zones and aim curve
Stick sensitivity defaults to 7. Raising it a point or two makes the camera feel less sluggish. Dead zones default to 4: drop to 2 on a new controller, raise them on a worn one. One player's widely shared setup puts the steering dead zone at 7 for more control when driving, while others prefer lower dead zones and higher aim sensitivity.
Brazilian site Critical Hits suggests these control values:
| Setting | Value |
|---|---|
| Horizontal Look Sensitivity | 7 |
| Vertical Look Sensitivity | 7 |
| Horizontal Aim Sensitivity | 5 |
| Vertical Aim Sensitivity | 6 |
| Look Acceleration | 7 |
| Aim Acceleration | 5 |
| Aim Response Curve | Linear (or Precision) |
Aim Response Curve has four options. Linear is the most consistent and the easiest for beginners, but try all four, especially if you use a particular curve in other shooters.
Aim assist and combat settings
Partial targeting helps you aim at enemies without locking onto them. Other gameplay options can stay at default.
| Setting | Value |
|---|---|
| Targeting | Partial |
| Aim Assist Strength | 4 |
| Shooting Assist | On |
| Drive-By Assist | On |
| Quick Draw | On |
| Cover Selection | Camera and Movement (option 1/2) |
| Holster in Vehicle | Automatic (option 1/2) |
Accessibility: button assists, autodrive and vehicle damage
The Gameplay tab holds a long list of accessibility options, from simplified minigames to button hold prompts. Changes worth making:
- Tap Assist: Off. You control every tap; raising it makes the game count one tap as several.
- Hold Assist: 2x. You hold buttons for half the original time, which spares your fingers.
- Autodrive: Restricted. Keeps the AI from taking over the driving.
- Reduced vehicle damage. Cars are fragile by default, and a few hard crashes in a chase can wreck the engine. This option cuts the damage vehicles take a lot (PC Gamer says damage can be switched off entirely), which also means fewer repair bills. The game warns it may change Rockstar's intended balance.
Motion blur and the 30fps question
GTA 6 is capped at 30fps on consoles, so motion blur is the setting players argue about most. Motion Blur Strength sits on the Display tab and defaults to 3. You have two camps:
- Low or off (0 or 1): removes the smear when you swing the camera. Turn it off if blur gives you a headache.
- Higher (5 or more): Rockstar Intel argues the game feels smoother this way at 30fps, and some players keep it on because it hides stutter when the frame rate dips below 30 in action scenes. The same site says Xbox players get a small extra benefit from VRR.
Try both and keep what feels better. More on performance in our frame rate guide.
Brightness, safe zone and screen effects
- Brightness Calibration: raise the bar until the Rockstar logo is barely visible.
- Safe Zone: leave at default unless parts of the picture are cut off. If they are, use the D-pad until the white border icons are just visible in the corners of your screen.
- Player Status Effects, Hit Effects and Awareness Effects Intensity: these screen effects warn you what is happening to your character. Set each to 5, or max them to react faster. Lowering them is fine if they distract you, but the game gets a bit harder.
- Flashbang effect: Bright whites out the screen when you are flashbanged, Dark does the opposite. Dark is kinder for late-night play.
- Brightness Reduction: in the game's words, it "applies a filter to the world that softens the output of bright lights without impacting the HUD." It also leaves the world looking washed out, so keep it off unless you need softer lights. The game asks you to confirm before it applies.
- High Contrast Shaders: highlights the player in yellow, allies in blue, enemies in red and interactive objects in gray. Switching it on enables all four, but each can be toggled on its own and the fill opacity can be turned down. A big help for anyone with impaired vision.
Violence settings
Dismemberment shows limbs coming off with certain injuries; switch it off if that is too much. Blood and Gore Intensity defaults to high (3/3) and can be lowered or turned off. If a younger family member plays, turn off the first and lower the second. Our age rating guide covers the rest.
Minimap, compass and reticle
The minimap can stay visible in the bottom-left corner, appear only when you call it up with the D-pad, or be hidden for more immersion. The compass at the top of the screen shows the direction and distance of important objectives, handy in complex missions and unfamiliar areas.
Reticle values to try:
| Setting | Value |
|---|---|
| Minimap | On |
| Persistent Center Dot | On |
| Reticle Hit Markers | On |
| Reticle Size | Default |
| Reticle Shape | Dot |
| Equipped Reticle Visibility | 10 |
| Aiming Reticle Visibility | 10 |
| Reticle Messages | On |
| Projectile Arc | Off |
Camera: follow speed, shake and bob
The camera defaults are solid. Suggested values:
| Setting | Value |
|---|---|
| Height | Medium |
| Horizontal Follow Speed | 10 |
| Vertical Follow Speed | 10 |
| Height (vehicles) | Medium |
| Horizontal Follow Speed (vehicles) | 10 |
| Vertical Follow Speed (vehicles) | 10 |
| Follow Delay | 0 |
| Camera Preference | On |
| Weapon Sway | On |
| Camera Shake | On |
| Camera Bob | 10 |
| Phone Display | Default |
The opposite view is popular too: turning Camera Shake and Camera Bob off entirely for a steadier picture is one of the most shared tweaks since launch. Leave aircraft camera settings at default; nobody has a better setup yet.
GTA 6 also cuts to automatic cinematic shots for big crashes and dramatic kills. If they interrupt your chases, you can make them appear less often or partly switch them off.
Subtitles and the touchpad
- Subtitles: pick the fullest level (option 3). The middle setting can leave some in-world scenes and broadcasts without subtitles.
- Touchpad (PS5): assign it to open the map, switch cameras, trigger accessibility functions, or activate focus so you don't have to press L3 and R3 together. No setup suits everyone, so try a few.
Audio: licensed music and GPS voice
- Mute Licensed Music (Audio tab) silences licensed songs to avoid copyright claims on videos and streams. Music captions still appear if captions are on.
- Radio volume can be lowered on the same tab if the stations drown out dialogue. See every station in our radio guide.
- GPS options let you switch between a couple of voices, change tones, or turn navigation sound off.
Sources: HobbyConsolas, Critical Hits, Polygon, IGN, TheGamer, PC Gamer, Rockstar Intel
Written by AI from the sources listed here, then checked automatically for copied wording and for claims stronger than the sources. How we work